Tabletop Wine Rack
Have you ever had the idea of a romantic diner or just to share a bottle of wine with your favorite person? I did see this pattern for a Wooden Tabletop Wine Rack at a local shop. They were made of wood that inspired me to build some for myself and some friends. Follow along as I show you what it is and how to make one of your own if you want.
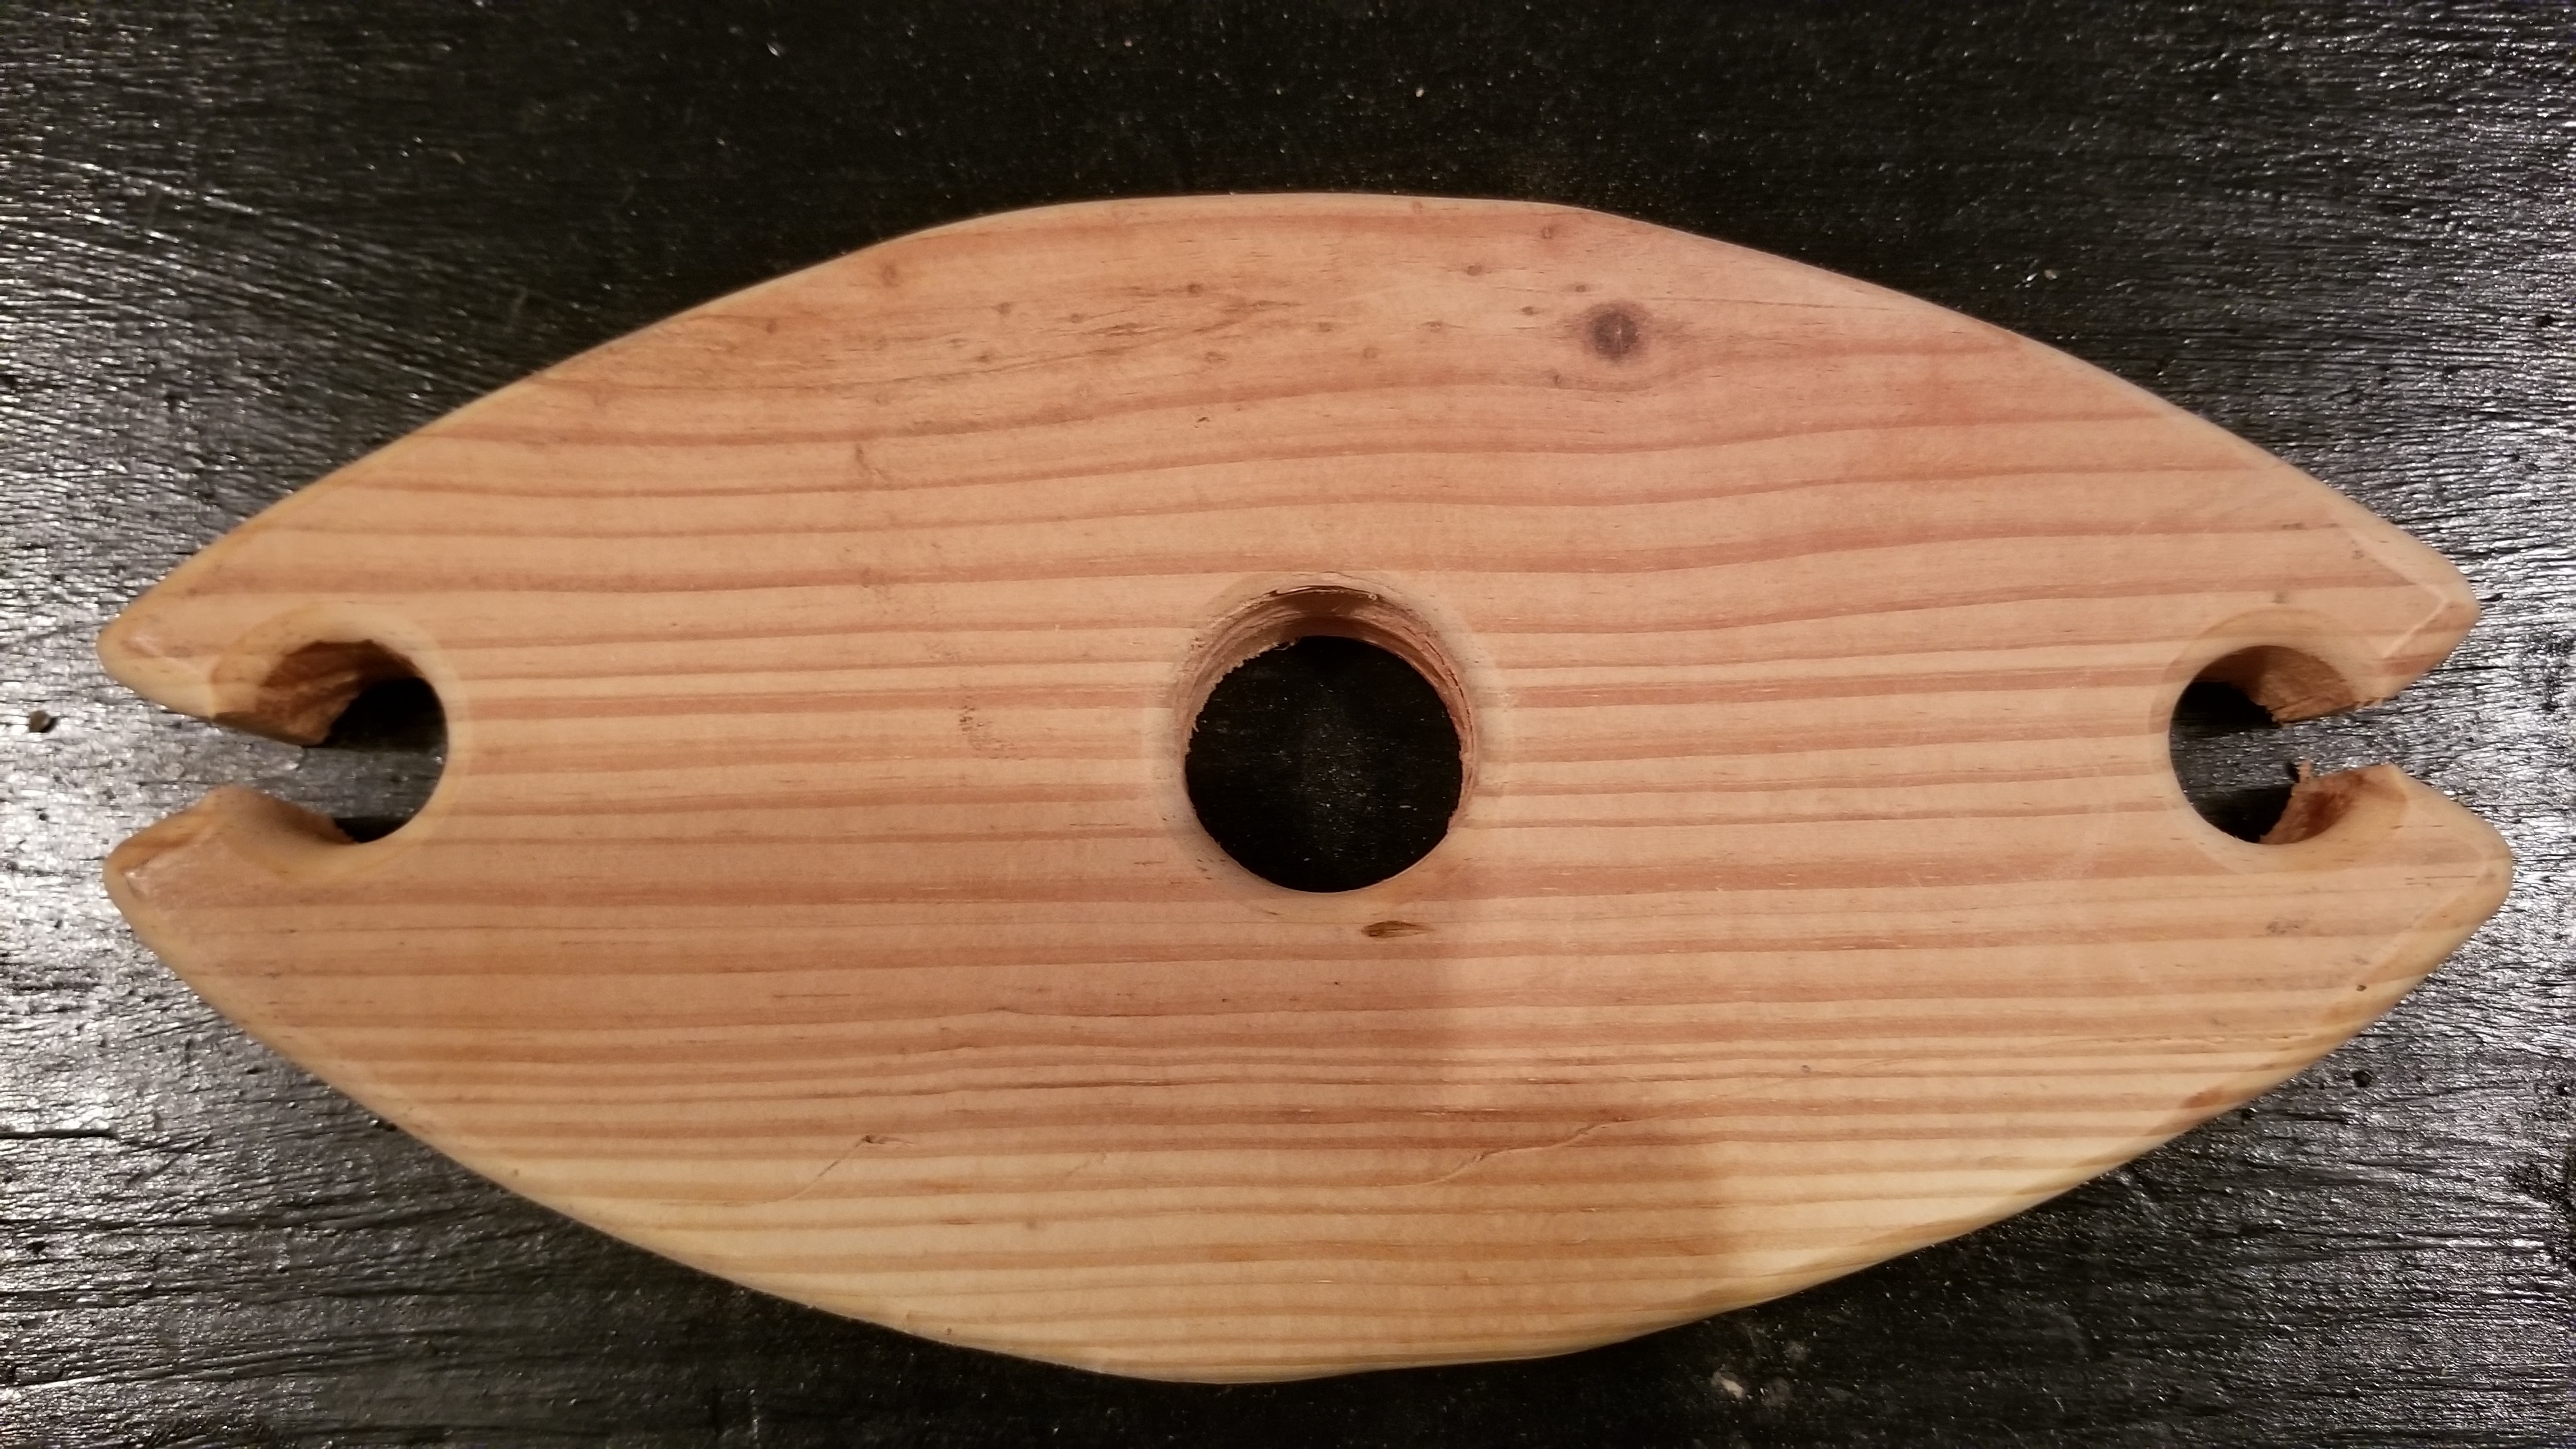 This rack is made from reclaimed wood from a house that was demolished. I asked if I could have some hardwood flooring and this is what I made some of mine from. The wood plate sits on top of the wine bottle neck and the two wine glasses will hang on each side. When you are ready to pour your wine, everything is ready. This makes a great centerpiece to a bistro table when sitting on the patio or balcony.
Who do you think will need one?
The average person will have a time in their life when they have something to celebrate with a friend or partner. Many times you will eat out to have this celebration, what would you do if you wanted to relax in your own space without the expense of a restaurant.
This rack will give you the setting to make this a romantic or special occasion. It is not for everyone, only those who want to impress the other party.
For those who like a video version of a post, follow the link below.
What type of wood do I use?
I use reclaimed wood or scrapes that are on clearance at the local big box home improvement retailers. Any material that is hardwood and about 1 inch thick, 6 inches wide and 10 inches long will do. The smoother the surface will make your finish work easier.
I have used maple, oak, walnut, and the flooring from the house that was demolished last year (did not know what kind of wood it was). The type of wood you use and the stain that you apply will give you the finished look that you like. Think about the final product before starting if you are making your own.
Build your own wine rack
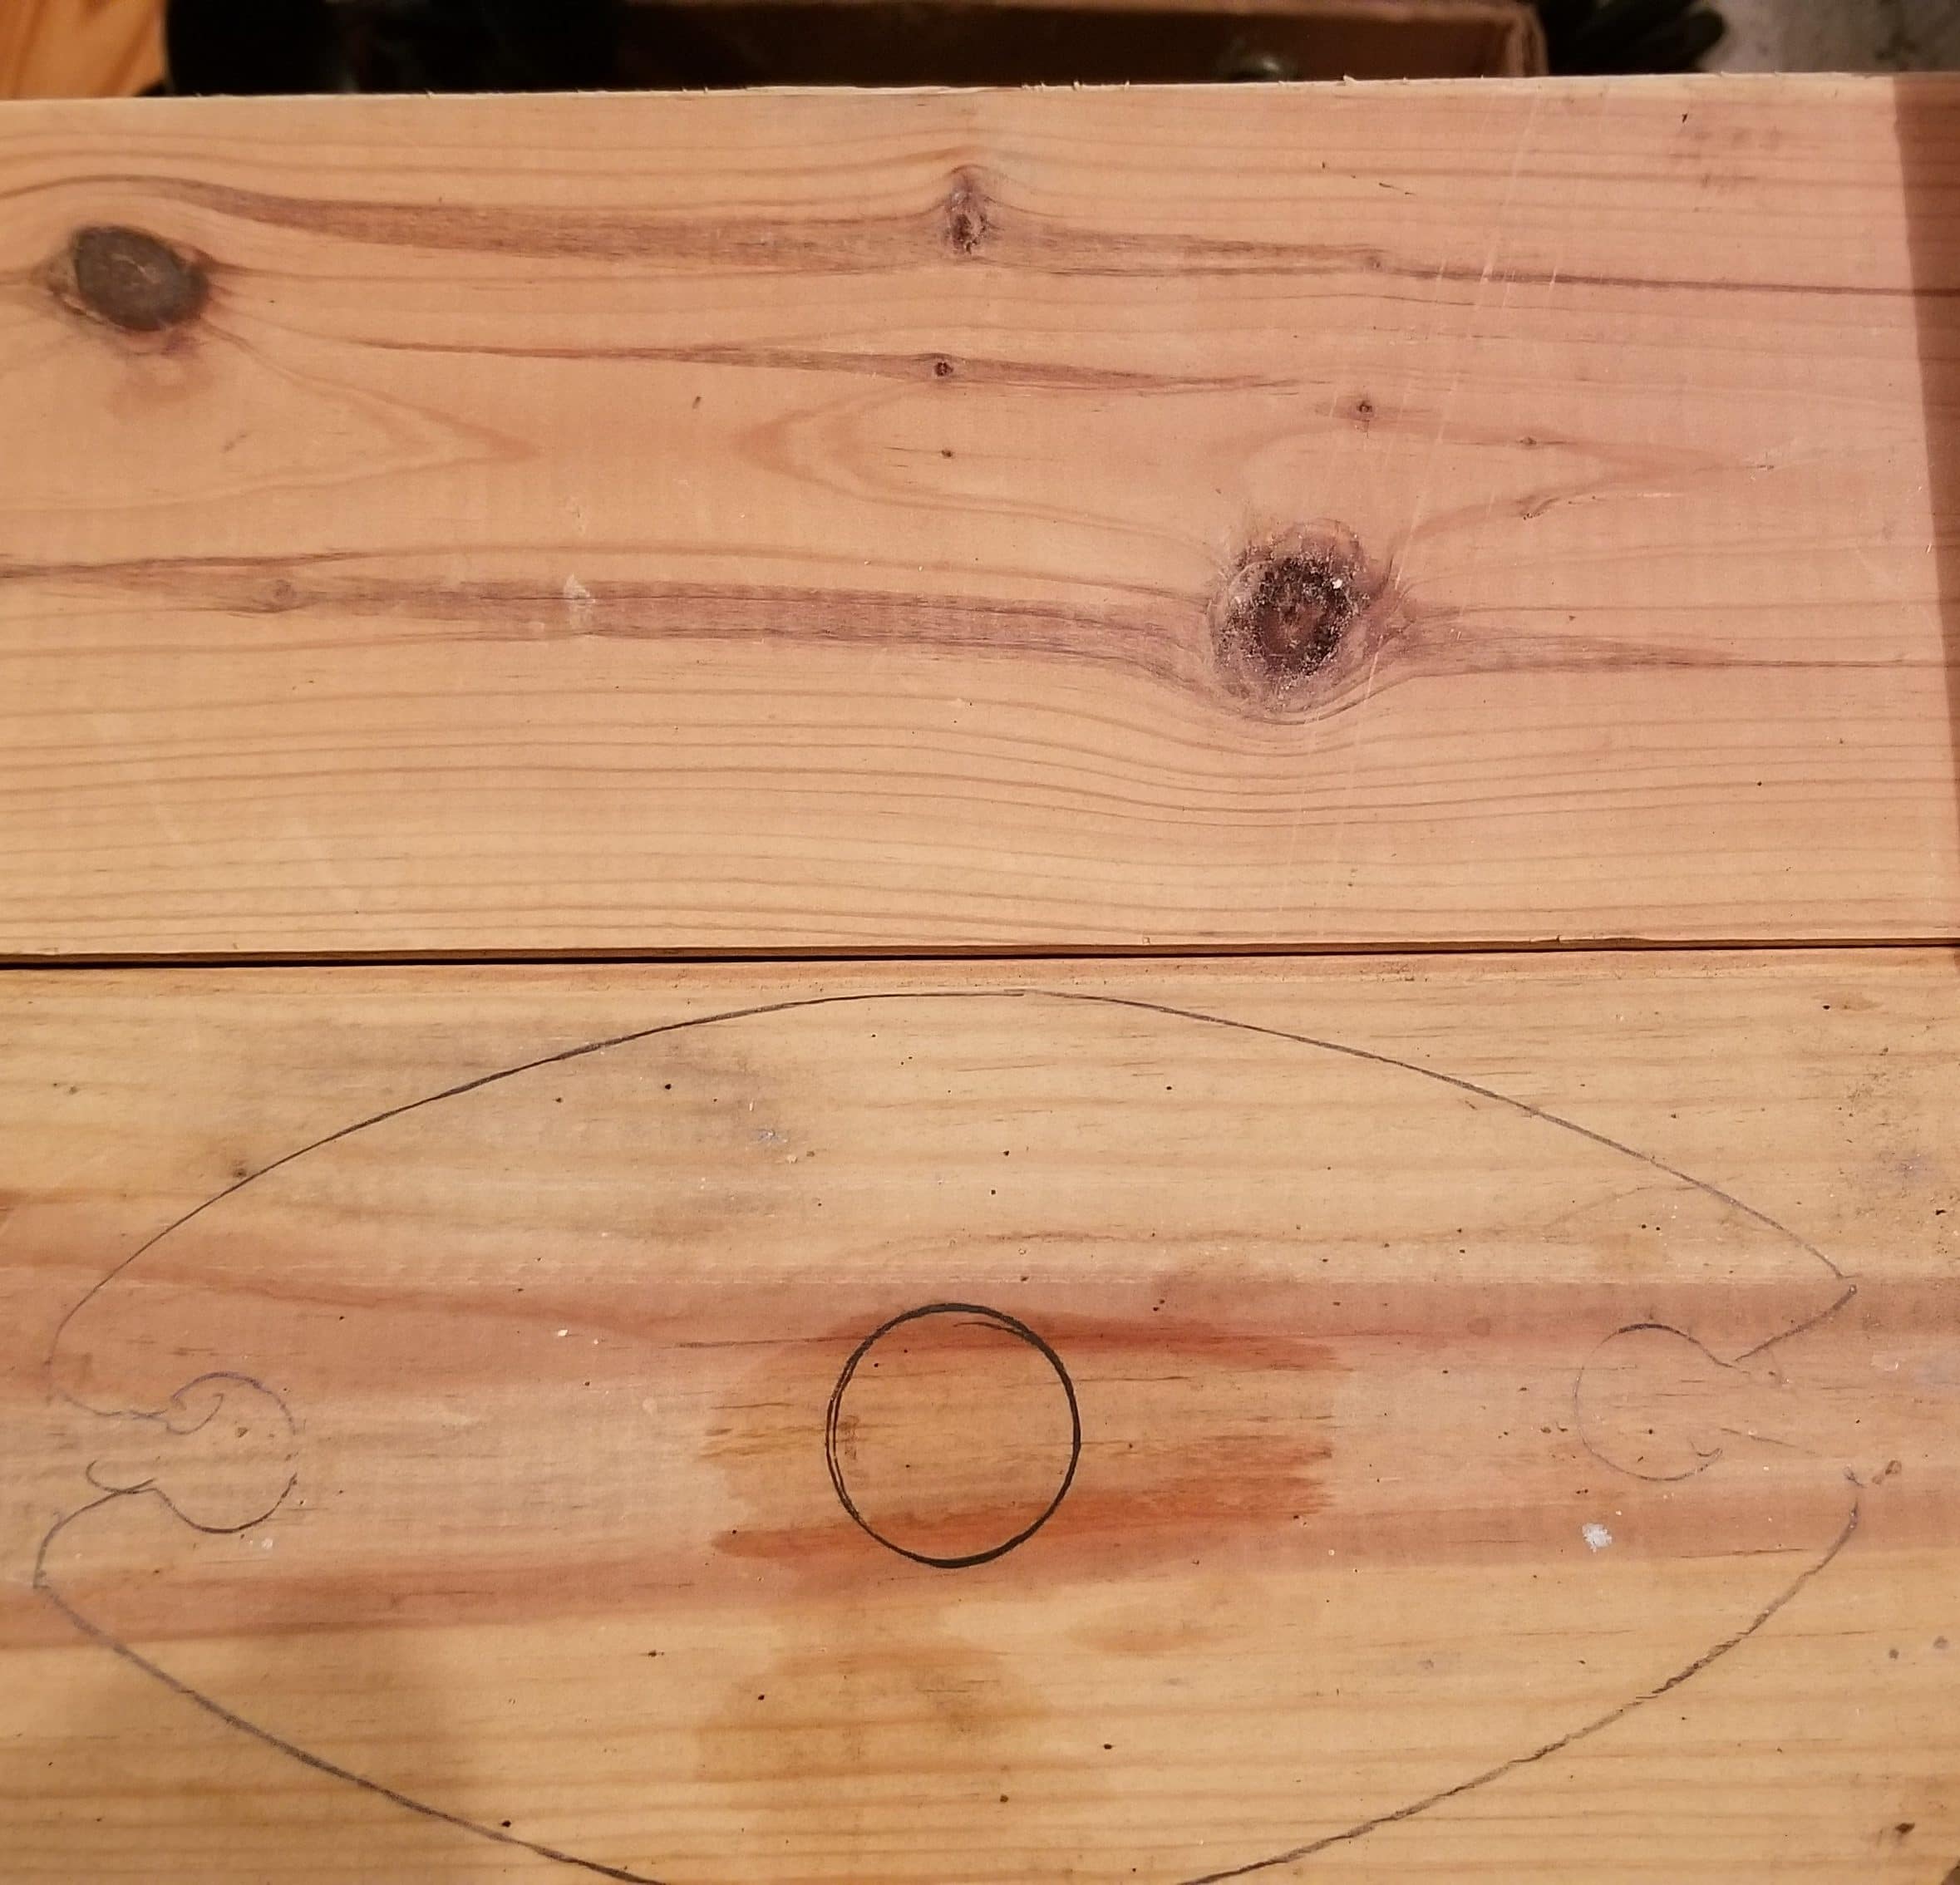 If you are somewhat good at woodworking you can make your own. You will need the following power tools at minimum-Drill, Jig Saw, Power Sander, and a Router, mine is mounted in a table. A rough file, sandpaper, measuring tape, square, and pencil will make this job easier.
I start with a blank piece of wood and mark for my round holes for the bottle and glasses. I found the 1 1/4 inch hole for the bottle works best and the 3/4 inch hole for the glasses works well.
Make sure that there is a centerline going through all three holes so that your rack will look good. I found that you need at least 4 inches between the center of the bottle hole to the center of the glass hole, the glasses will have room to hang. Too close and the glass will hit the bottle and it will not look good, too far and it will be really wide.
Once you have done one pattern, the rest is easy, getting the right separation and size is very important to the finished product.
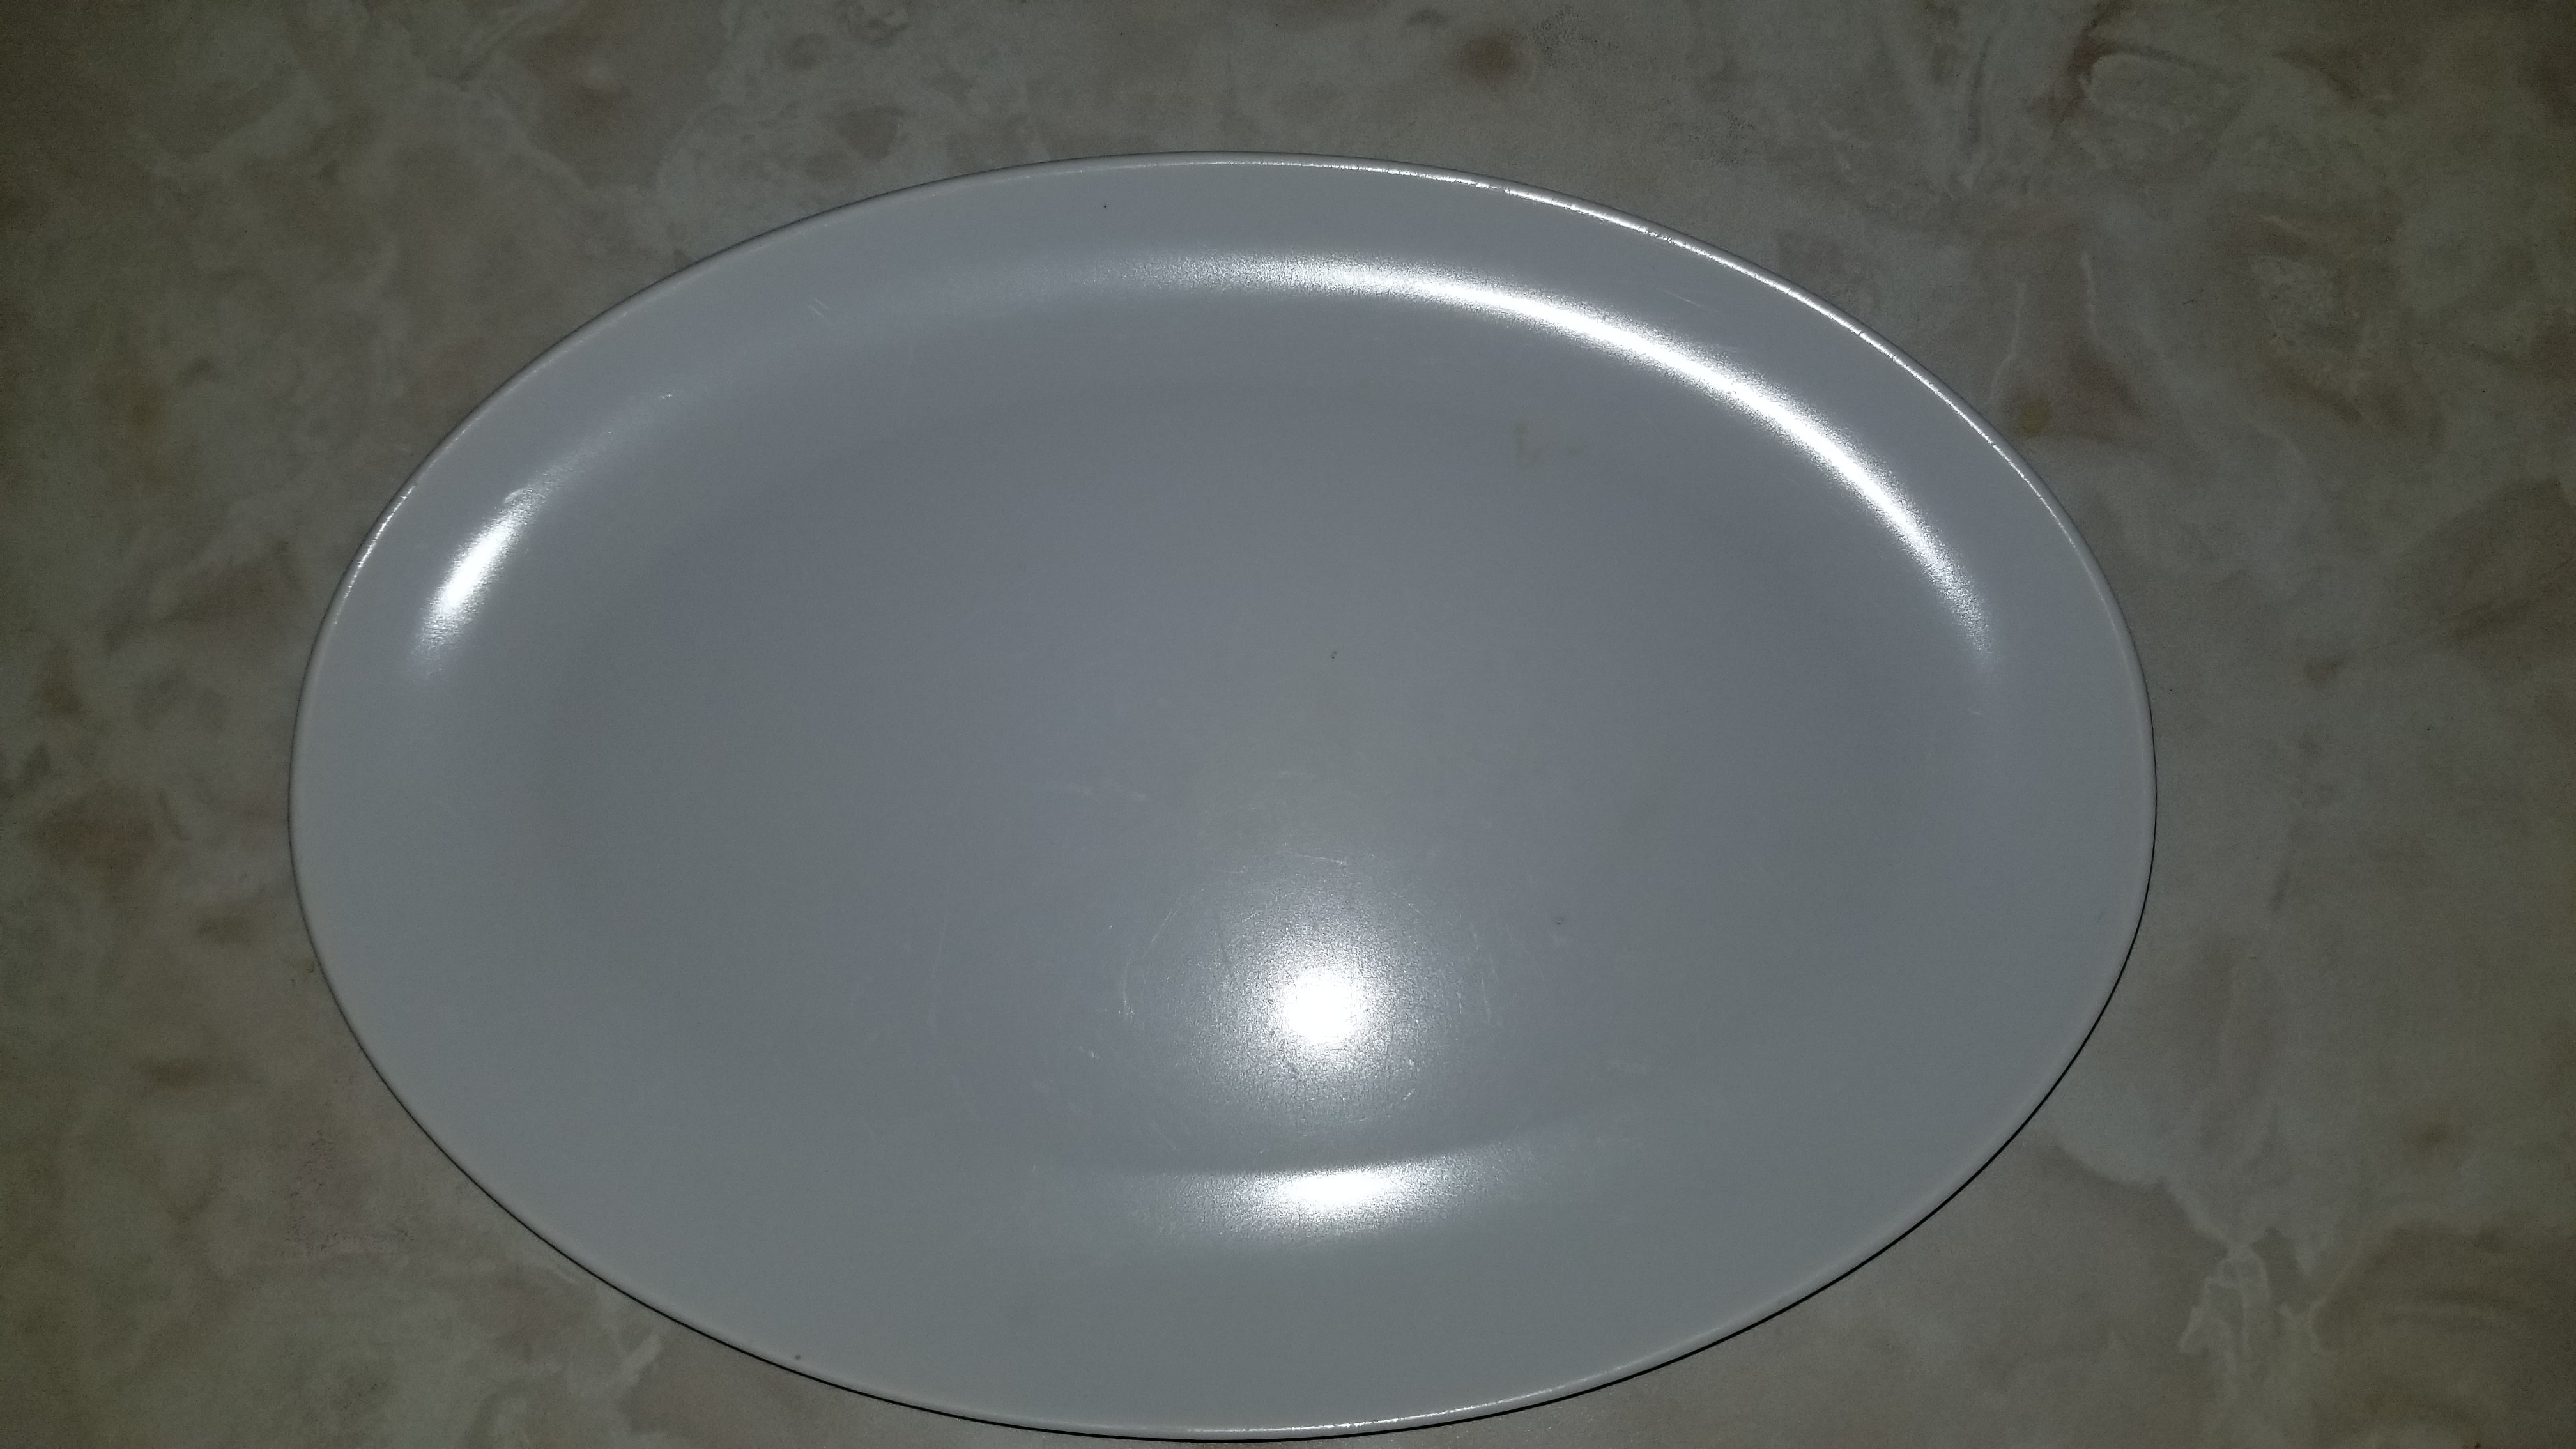
I used a meat platter to make the curved design of the outside of the rack. It did take several attempts to make all four curves look the same, I now have a pattern made from pressed wood to mark where to cut the outside. You can make the angle where the glasses sit wide or narrow. I like the angle that I have as it works well in transition with the outside curve.
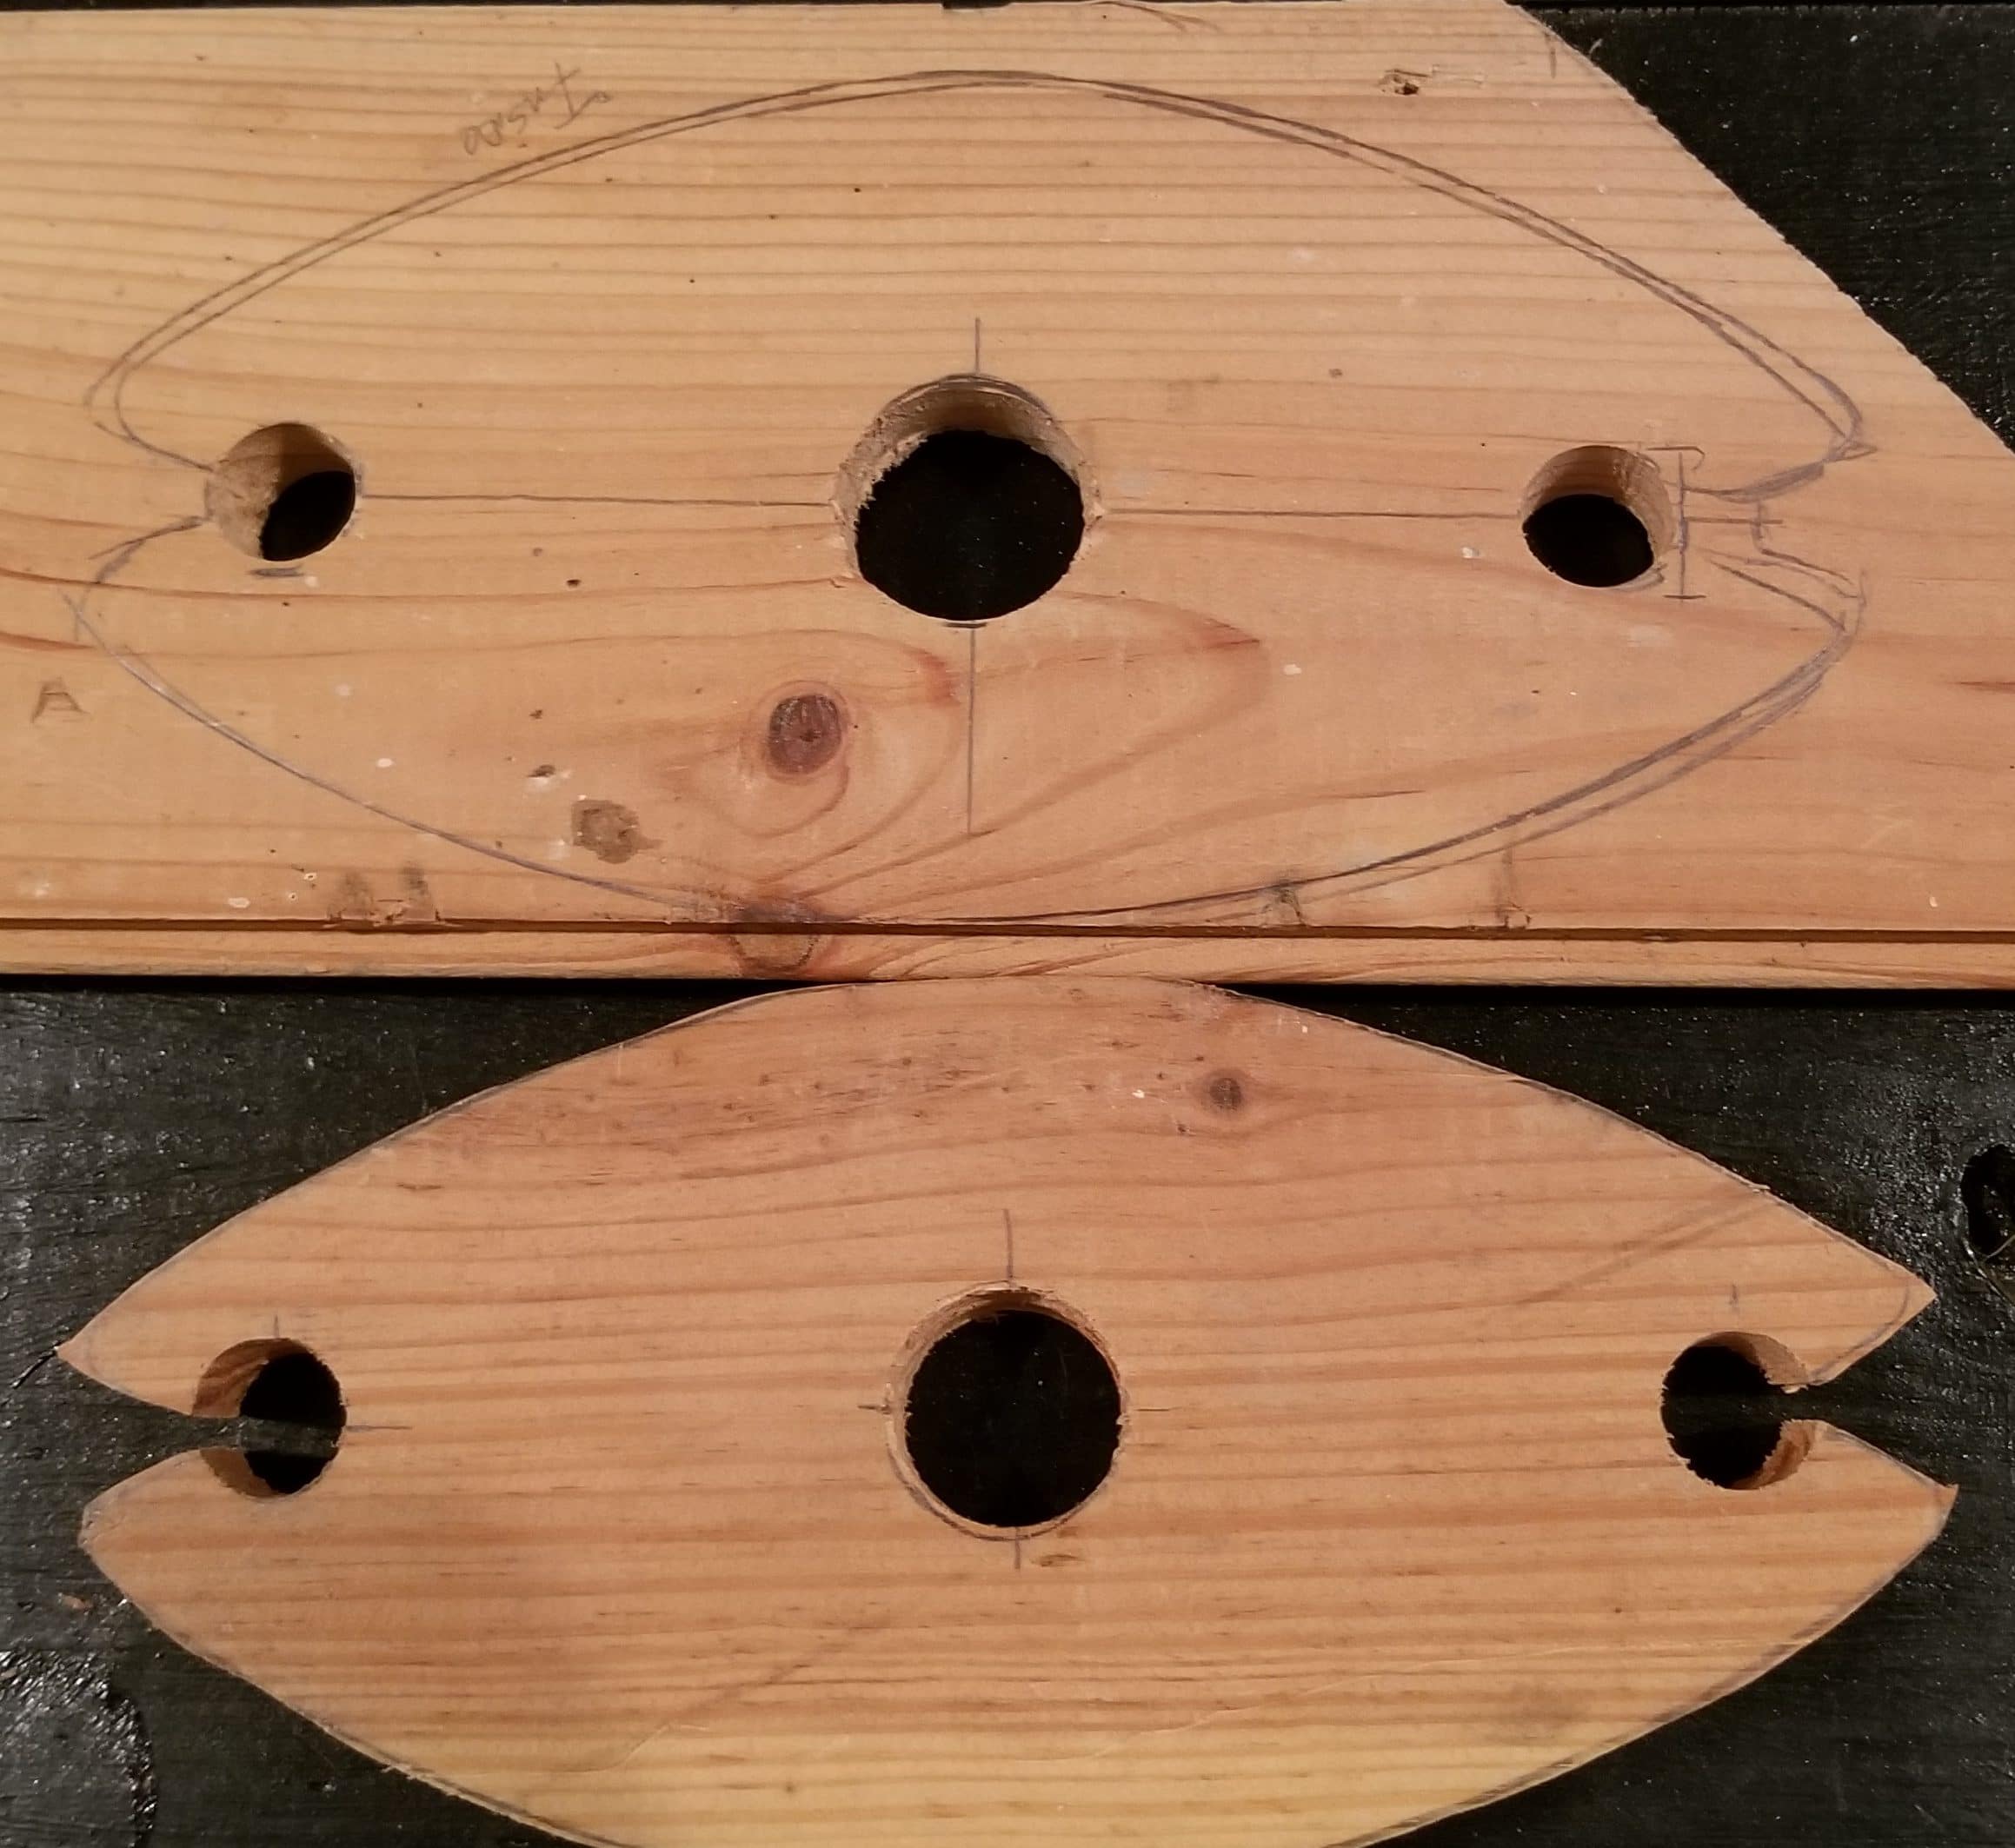 I use a jigsaw to cut out the pattern. After cutting the outline out, I use a power sander with 60 grit paper to smooth all outside surfaces. Hand sanding and the use of a wood file helps with the final shape. I make sure that my glasses will fit into the slot at each end, check both glasses as I had one set with different stem sizes.
Once the shape looks good, I run it through the router with a 1/4 round bit. This rounds all surfaces and gives the final shape. If the router bit can get into the slot for the glass, most glass stems will fit. I used a file to open the hole if it was too tight for the router bit to fit.
A final sanding with 200 grit paper will get rid of any imperfections. Having a smooth surface that is the same all over will allow the stain to not have any dark spots if you are giving it a finished look.
Now you are ready to stain or paint your finished product. I take my stain choices and stain some of my scraps of wood to see what each will look like. Not all stains will be the same as the picture on the can when they dry. Once you have the stain done and it drys for a day, I like to seal my rack with a polyurethane spray. You can have different finishes to give it the look you want, use your scrapes to test.
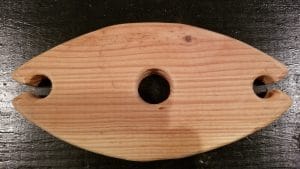 If you prefer a solid color, you can spray paint your rack. Just choose the color of your choice and paint. The type of wood that you use for a painted rack will not matter unless you have a lot of grain that shows.
Now you are ready for your big date.
What if I want to buy one already made
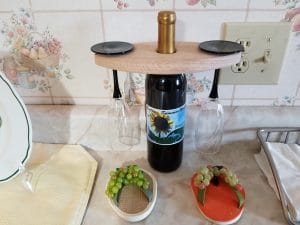 If you are not very handy with tools, I have a few of these made. If you have a type of wood that you would prefer, I can make one within a few days. I do know of another person making a similar product, I think it looks cheaper in design, I can forward that information to anyone that is interested.
The way to get yours without the work is to send me an email with the form below with the finish you are looking for. I will send you a picture of the finished product before it will ship. The cost will be determined by the type of wood and finish you are looking for. The more exotic the wood and finish, the higher the price will be.
Just a reminder, the glasses, and wine bottle are not included.
Send me an email with your request for your very own wine rack today.
John@outdoorroomideas.com
My final thoughts

If you like a good glass of wine with your favorite mate, have a Wooden Tabletop Wine Rack with your favorite bottle of wine and glasses sitting on a table ready for your big date.
I use mine for decoration on the counter in the kitchen when not needed for the table. It makes a great conversation piece when friends come over. Many people have asked where they can get one, I have made several for friends and family.
If you like the idea of this wood rack, just send me an e-mail and I will get back to you. I have some made and can special order one with your type of wood and finish.
Don't forget to share with your friends and family on your social networks if you found this information helpful and informative.

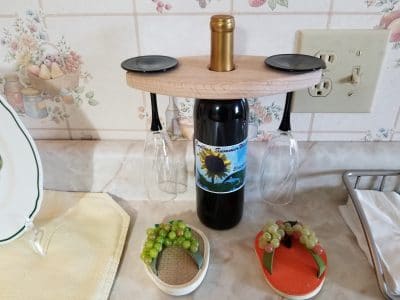
This one looks good when friends come over for sure! I don´t like plastic, but this wooden table top looks simple yet elegant!
Marko,
It is simple and can fit in any drawer when not needed. You can change the look with different types of stain and paint. Personalize with your name or special occasion date.
John
This does look really nice. Could you make it so it holds like 6 bottles at once?
If so Im interested.
No this does not come to hold a six pack. One can be made to hold shot glasses for those who like hard liquor. I have not made many of these.
John
Hi John
This wooden table top wine rack is awesome. I particularly like the way it looks simple and fancy at the same time.
I will share this info with my friends.
Thanks
Lewa,
Thanks for sharing with your friends. Have made many for friends and family. Makes for a conversation piece to break the ice for a first date sometimes.
John
John this is a great ideal. I don’t drink wine, but it would make a good decoration piece like you said. Really like your ideals on this good thinking.
Fred,
It is something I seen in a wood shop one day. I took a picture and decided to make me one. I have made several for gifts in the last few years. Just looking to see if anyone else would like a great conversation piece for their dinner with a special person.
John
This is such a wonderful idea! The husband is on vacation next week. This is going on the “honey do” list. I am a wine drinker and I love having dinner parties. I think a couple of these would be perfect for the dinner table when we have guests. Or anytime really. I appreciate you sharing this great idea with very easy to follow instructions.
Christina,
Let me know if you need any help with this. I have made several for family and friends. They make the greatest gifts.
John
This is such a great idea, John! These would make terrific gifts. I will share this post on Facebook.
All the best,
Sue
Sue,
Thanks for sharing my post on Facebook. I have made several and think they are great gifts also.
John
Hello John,
beautiful thing:) I would love one:) I have a small cave in my house and this will be the right accessory in my living room. how can I get on in Greece? Is possible to have one with more than one bottle, four bottles let’s say?
I am a woman, I am not so good with tools:( So I count on you.
Thanks for sharing,
Have a nice day
Cristina
Cristina,
Have not seen one with more than one bottle. Shipping one overseas would cost more than it would be worth. I would check with a local wood shop and have them build one, it should not cost much. If they need any further instructions, please contact me.
John
What a great idea.
I actually have a bar built into my home (I know I am posh) 🙂 and I think something like this would look really good there.
I am more of a wine drinker these days so I think this would be an awesome addition.
Thanks for the information
Chris
Chris,
Making one will not break the bank. If you have the tools it will only take about 1 – 2 hours. These are great for special occasions.
John
John I was just thinking that this could be used for any kind of drink that has a bottle neck it would fit over. Not just wine it could be soda, water or any kind of bottled drink.
Fred,
Any bottle that is tall enough to for the glasses not to hit the counter. I use mine just to sit on the counter with an empty green bottle.
John